Complete Guide: Setting Up a Video Conference Room in Your Hyderabad Office
Setting up a video conference room that actually works — consistently, for every meeting, for every user — is more nuanced than it appears. Many Hyderabad offices have invested in expensive equipment only to find that poor acoustic treatment, incorrect camera placement, or inadequate network provisioning undermine the entire experience. This guide walks through every stage of a professional conference room deployment.
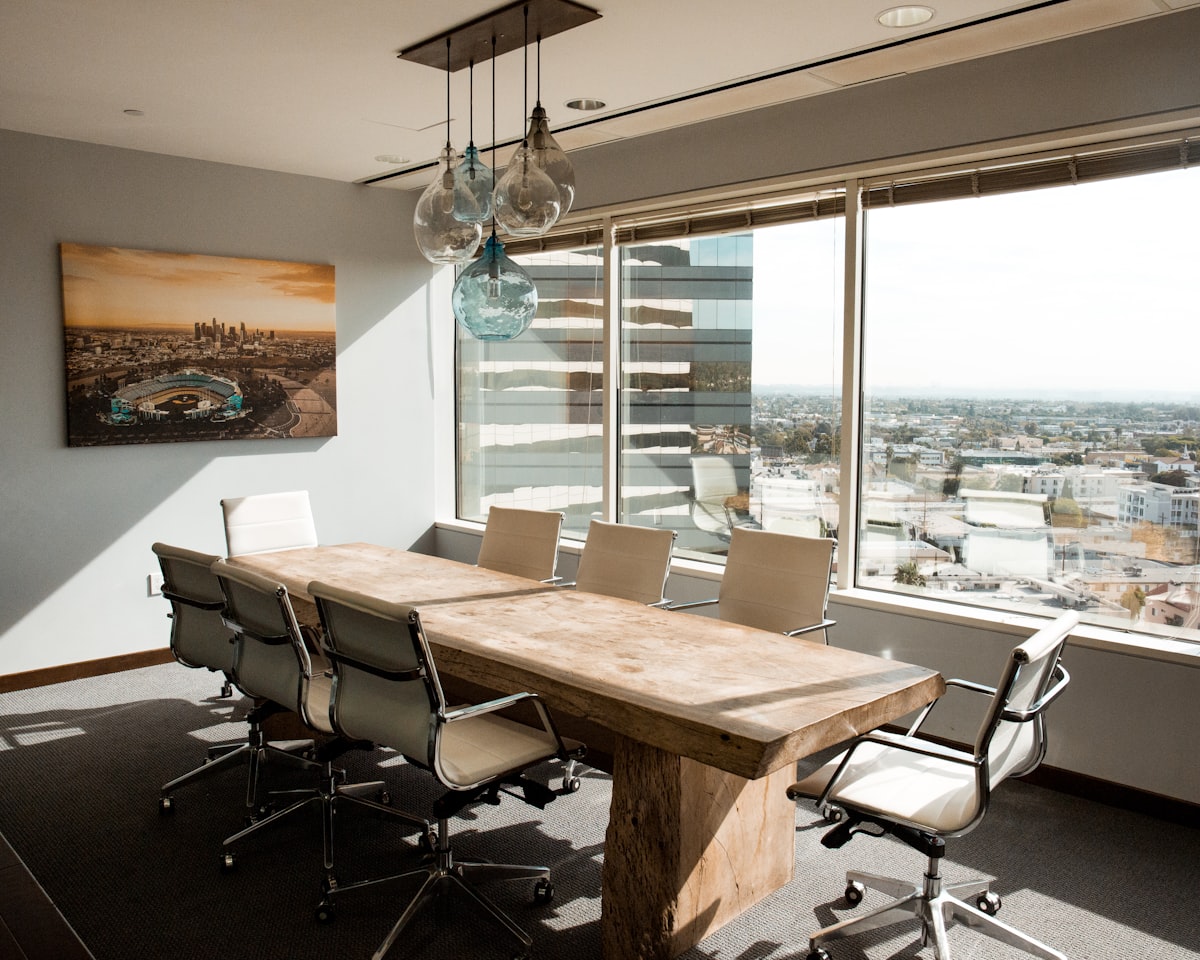
Step 1: Define Your Room Type and Requirements
Conference rooms fall into four categories. Huddle rooms (2–4 people) need a compact video bar and simple touch panel. Small meeting rooms (4–8 people) require a quality camera, ceiling or tabletop microphone, a 65″ display, and a room controller. Medium boardrooms (8–16 people) need a high-performance camera array, distributed microphone system, dual displays, and room control integration. Large training rooms require fully custom AV design, professional lighting, and dedicated support infrastructure.
Step 2: Network Infrastructure Assessment
Video conferencing is network-intensive. Before any hardware purchase, AlphaTech India’s technical team assesses the network infrastructure. Minimum requirements: 10Mbps dedicated symmetric bandwidth per room, sub-20ms latency to the platform’s nearest data center, QoS (Quality of Service) configuration to prioritize video traffic, and wired Ethernet to all AV equipment. Many Hyderabad office buildings have shared internet connections that require upgrades before AV installation.
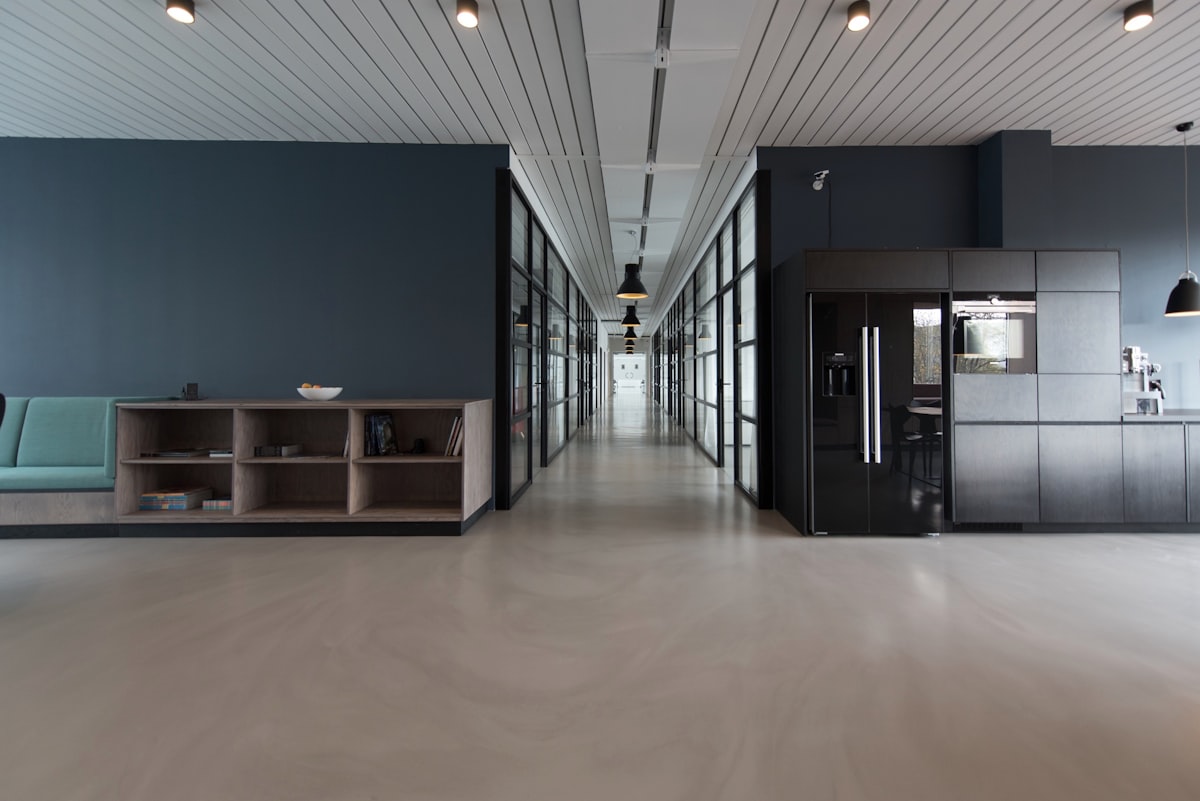
Step 3: Room Acoustic Treatment
Acoustics are frequently neglected and consistently cause poor call quality. Hard surfaces — marble floors, glass partitions, concrete walls — reflect sound and create reverb that makes remote participants’ experience terrible. Practical fixes include fabric acoustic panels on two walls (minimum), a carpet or area rug, and acoustic ceiling tiles. For dedicated conference rooms, AlphaTech India provides a full treatment specification. This step is non-optional for professional results.
Step 4: Equipment Selection and Procurement
Based on room type and platform choice (Teams or Zoom), we specify the complete equipment list: display or projection system, camera, microphone system, speakers, room controller, cable management, and mounting hardware. AlphaTech India supplies all major brands — Logitech, Poly, Jabra, Crestron, Extron, Sony, LG, Samsung — with genuine Indian warranty and GST billing.
Step 5: Professional Installation
All cabling should be concealed within walls or under cable management raceways — visible cable bundles are a hallmark of amateur installation. Camera mounting height should be at eye level for the primary seating area (typically 120–140cm). Display sizing follows the 4H rule: display diagonal should equal approximately 4x the distance to the farthest viewer. Our certified engineers follow structured installation checklists developed across 150+ Hyderabad deployments.
Step 6: Platform Configuration and Testing
Hardware installation is half the work. Platform configuration — device provisioning, calendar integration, room account creation, firmware updates, audio level calibration — requires equal care. AlphaTech India conducts 30-point acceptance testing before signing off on any installation. We also train nominated IT staff and end users on room operation.
Step 7: Ongoing Support
AlphaTech India offers AMC (Annual Maintenance Contracts) for all installed systems, with 4-hour response SLA for Hyderabad locations.
🛠️ Let us set up your conference room right
AlphaTech India — end-to-end AV design, supply, installation and support across Hyderabad and Telangana.
📧 alphatechindia6@gmail.com | 🌐 alphatechind.net